Calculating Cost Like a DevOps Boss with Infracost and AWS
  1. Posts/

Calculating Cost Like a DevOps Boss with Infracost and AWS

William Collins
Author
William Collins
Building at the intersection of cloud, automation, and AI. Host of The Cloud Gambit podcast.
Table of Contents

Blowing out cloud spend is an easy thing to do. This McKinsey Report notes that 80% of enterprises consider managing cloud spend a challenge. I recently presented at the Cloud Security Alliance in Kansas City and had the opportunity to network with some tremendous DevOps and Security professionals. One excellent side conversation somehow transitioned to a deep discussion on better ways to understand cost implications in the era of infrastructure-as-code. Shouldn’t cost be someone else’s problem?

intro
Intro

Cost is a Shared Responsibility
#

As many organizations continue shifting workloads to the cloud, the cost impacts the bottom line. The responsibility of cost-management now transcends the CIO and accounting straight down to individual engineers. If this sounds scary, fear not. It is an incredible opportunity in the making.

Where do Engineers Work?
#

Engineers do not work in spreadsheets, nor do they work with accounting software. Most software engineers work day-to-day in version control. Furthermore, the centralized teams managing cloud infrastructure more broadly live in this world as well. Version Control often employs an approval process before a pull request is merged, and infrastructure is provisioned. What if you could see the cost impact right here? Yes, right where you, the engineer live? This is what Infracost does.

Prerequisites
#

First, follow the instructions found here to download and authenticate Infracost. This includes creating an org inside the platform, which is where you can fetch the API key. Then we need a quick way to spin up some small AWS instances and then quickly dial them up to more expensive options.

AWS Configuration
#

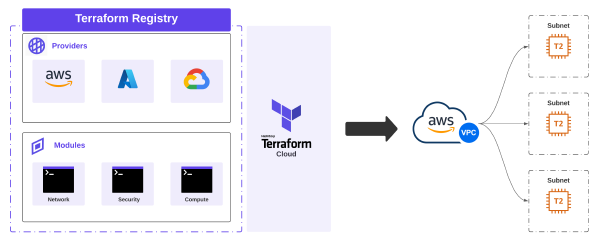
I’ll be using the following Terraform configuration to build the AWS infrastructure. I’ll keep the dynamic portions of the configuration in a separate locals block so we can easily adjust for testing.

 1
 2
 3
 4
 5
 6
 7
 8
 9
10
11
12
13
14
15
16
17
18
19
20
21
22
23
24
25
26
27
28
29
30
31
32
33
34
35
36
37
38
39
40
41
42
43
44
45
46
47
48
49
50
51
52
53
54
55
56
57
58
59
60
61
62
63
64
65
66
67
68
69
70
provider "aws" {
  region     = "us-east-2"
}

data "aws_ami" "ubuntu" {
  most_recent = true

  filter {
    name   = "name"
    values = [local.instance.image]
  }

  owners = local.instance.owners

  filter {
    name   = "virtualization-type"
    values = ["hvm"]
  }
}

resource "aws_vpc" "vpc" {
  cidr_block = "10.1.0.0/16"

  tags = {
    Name = "vpc-east1"
  }

}

resource "aws_subnet" "subnet" {
  count = length(local.subnet_names)

  vpc_id     = aws_vpc.vpc.id
  cidr_block = local.subnet_prefixes[count.index]

  tags = {
    Name = local.subnet_names[count.index]
  }

}

resource "aws_network_interface" "interface" {
  count                   = length(local.subnet_names)
  subnet_id               = aws_subnet.subnet.*.id[count.index]

  tags = {
    Name = "primary-network-interface"
  }
  
}

resource "aws_instance" "instance" {
  ami                         = "${data.aws_ami.ubuntu.id}"
  count                       = length(local.instance_names)
  instance_type               = local.instance.type

  network_interface {
    network_interface_id = aws_network_interface.interface.*.id[count.index]
    device_index         = 0
  }

  tags = {
    Name = local.instance_names[count.index]
  }

  credit_specification {
    cpu_credits = "unlimited"
  }
  
}

Let’s Test via CLI
#

First, let’s do a terraform plan against the following criteria:

 1
 2
 3
 4
 5
 6
 7
 8
 9
10
11
12
13
locals {

  instance = {
    type   = "t2.micro"
    image  = "ubuntu/images/hvm-ssd/ubuntu-focal-20.04-amd64-server-*"
    owners = ["099720109477"]
  }
  
  subnet_names    = ["eeny"]
  instance_names  = ["catch"]
  subnet_prefixes = ["10.1.1.0/24"]
  
}

Running a Cost Estimate
#

Now, let’s run a cost estimate with Infracost and provision an instance:

Run Estimate
Run Estimate

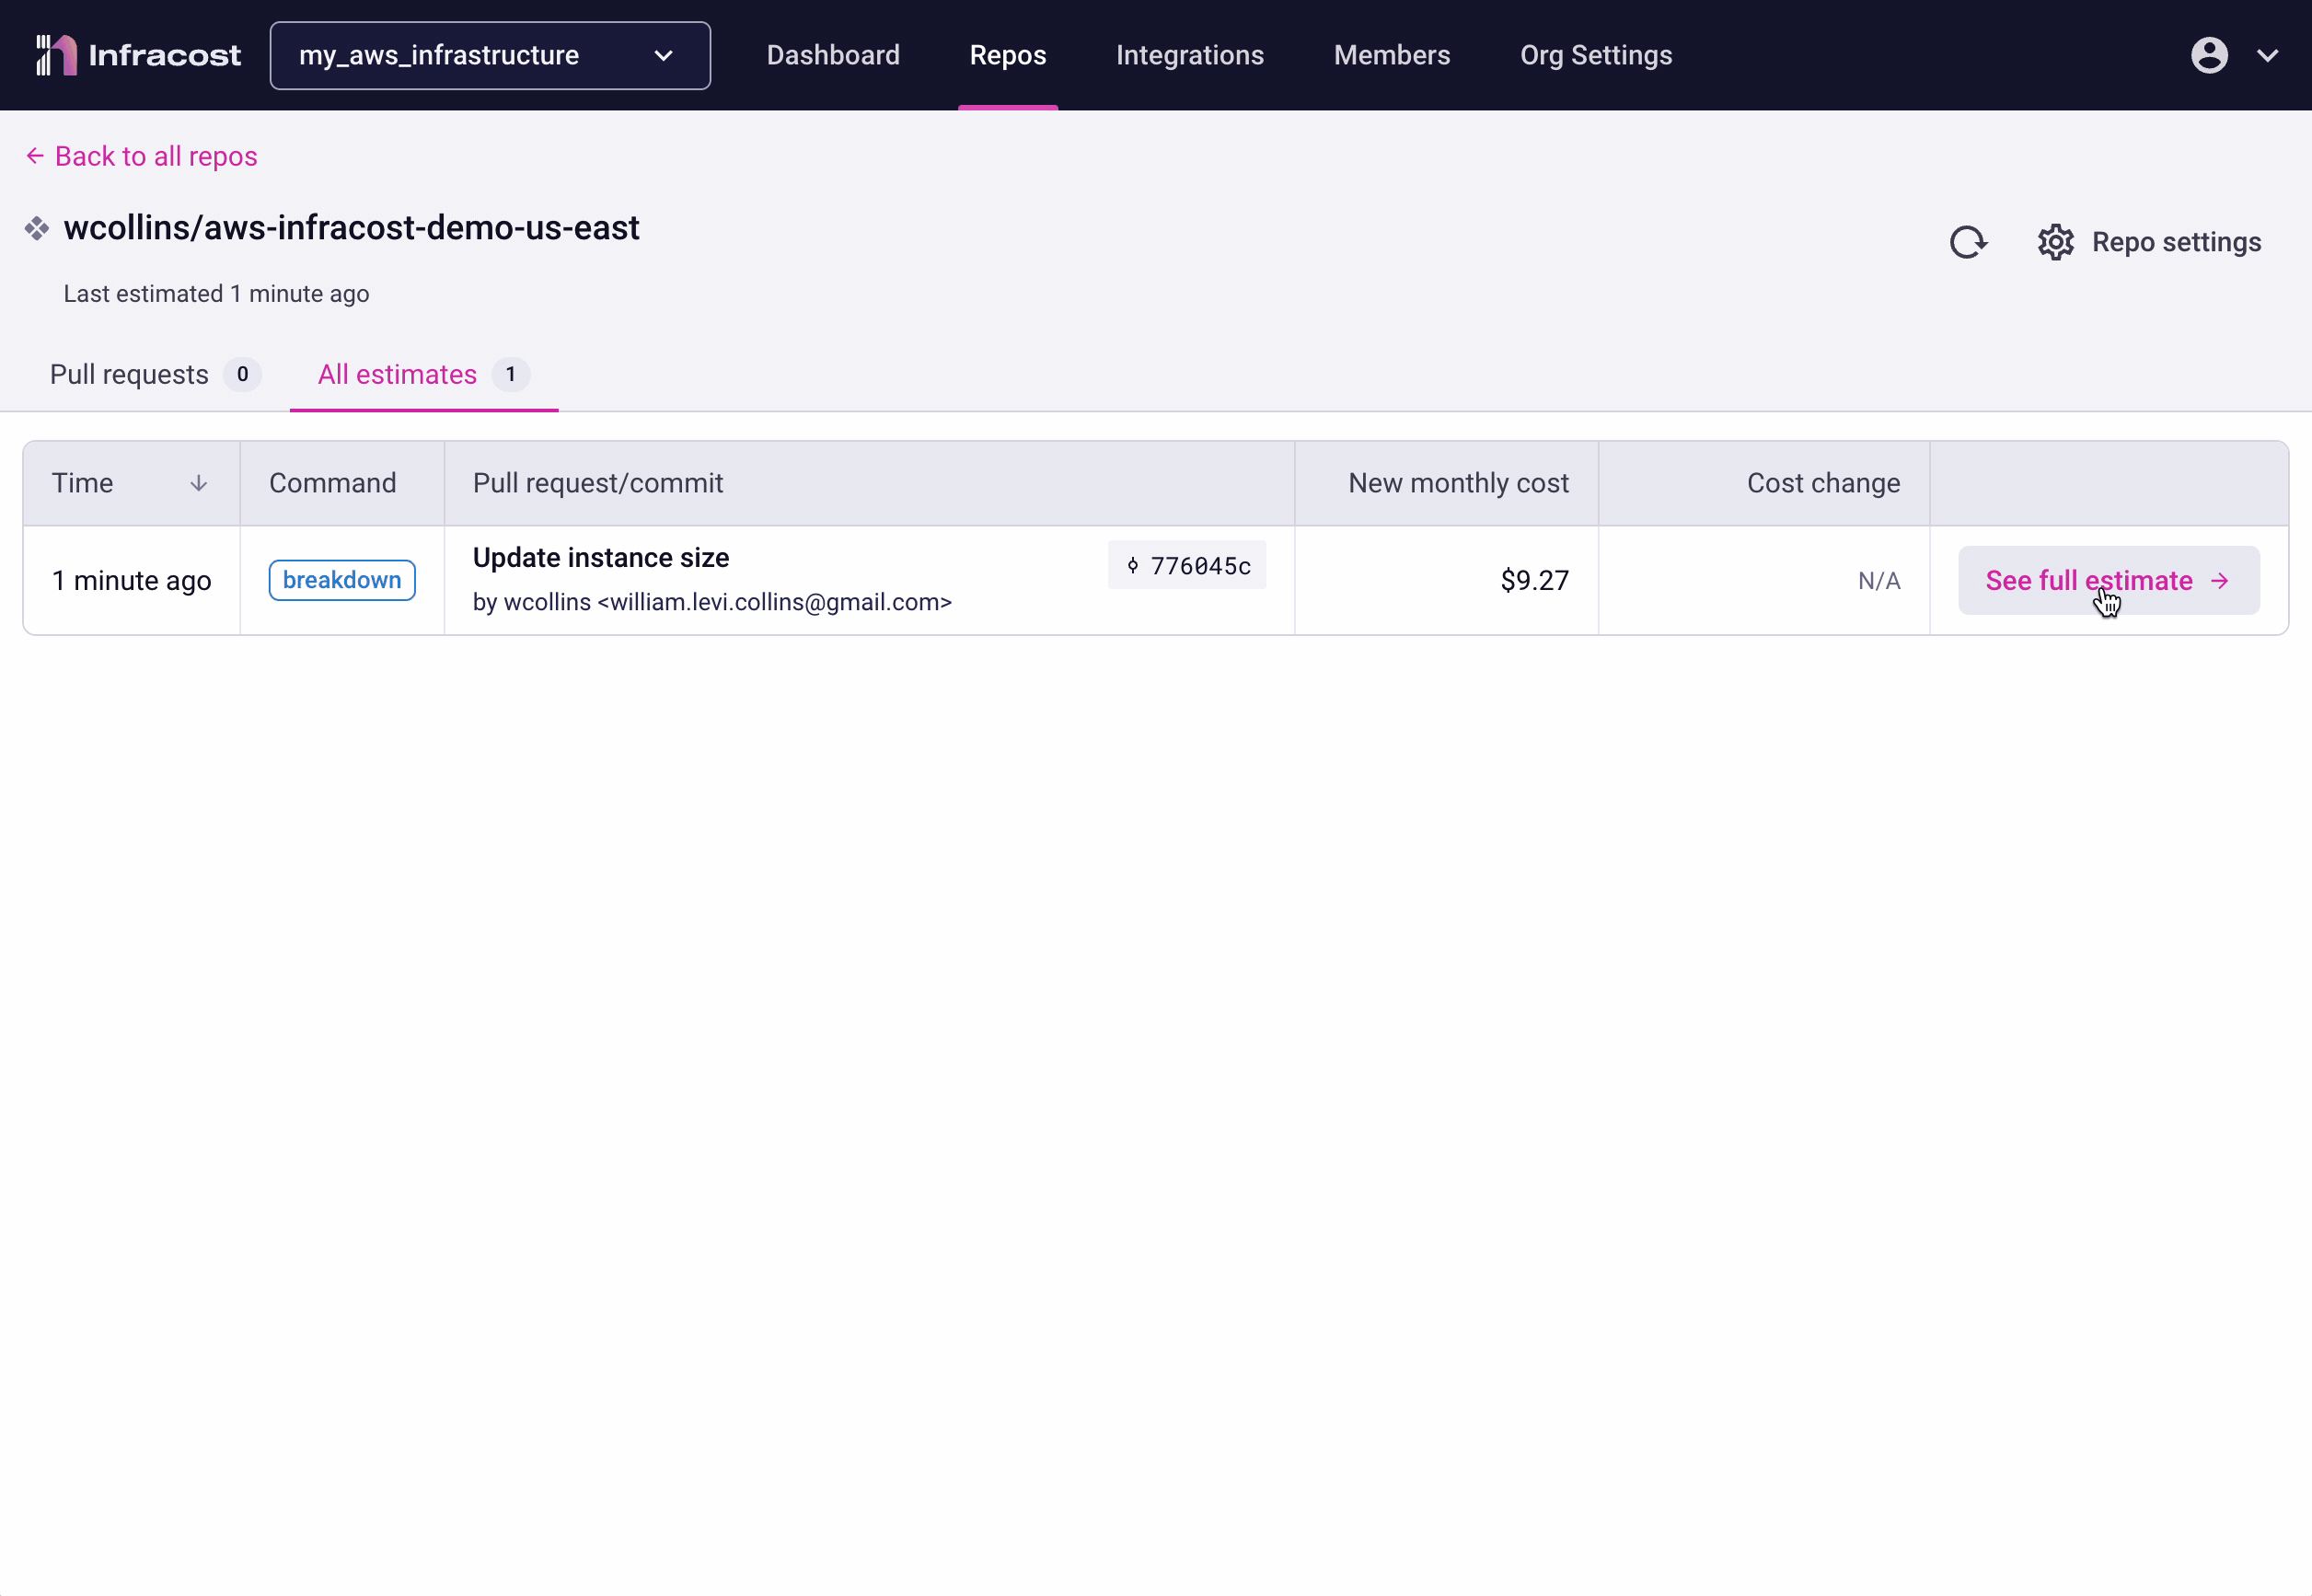
Once this is done, we can check out the results on the Infracost portal:

Validate Estimate
Validate Estimate

Running a Cost Diff
#

Bigger and more expensive is better, right? Let’s update our configuration with a few changes. Let’s switch that t2.micro to an m5.24xlarge, and let’s see how much it would cost to provision four of them:

 1
 2
 3
 4
 5
 6
 7
 8
 9
10
11
12
13
locals {

  instance = {
    type   = "m5.24xlarge"
    image  = "ubuntu/images/hvm-ssd/ubuntu-focal-20.04-amd64-server-*"
    owners = ["099720109477"]
  }

  subnet_names    = ["eeny", "meeny", "miny", "moe"]
  instance_names  = ["catch", "tiger", "by", "toe"]
  subnet_prefixes = ["10.1.1.0/24", "10.1.2.0/24", "10.1.3.0/24", "10.1.4.0/24"]

}

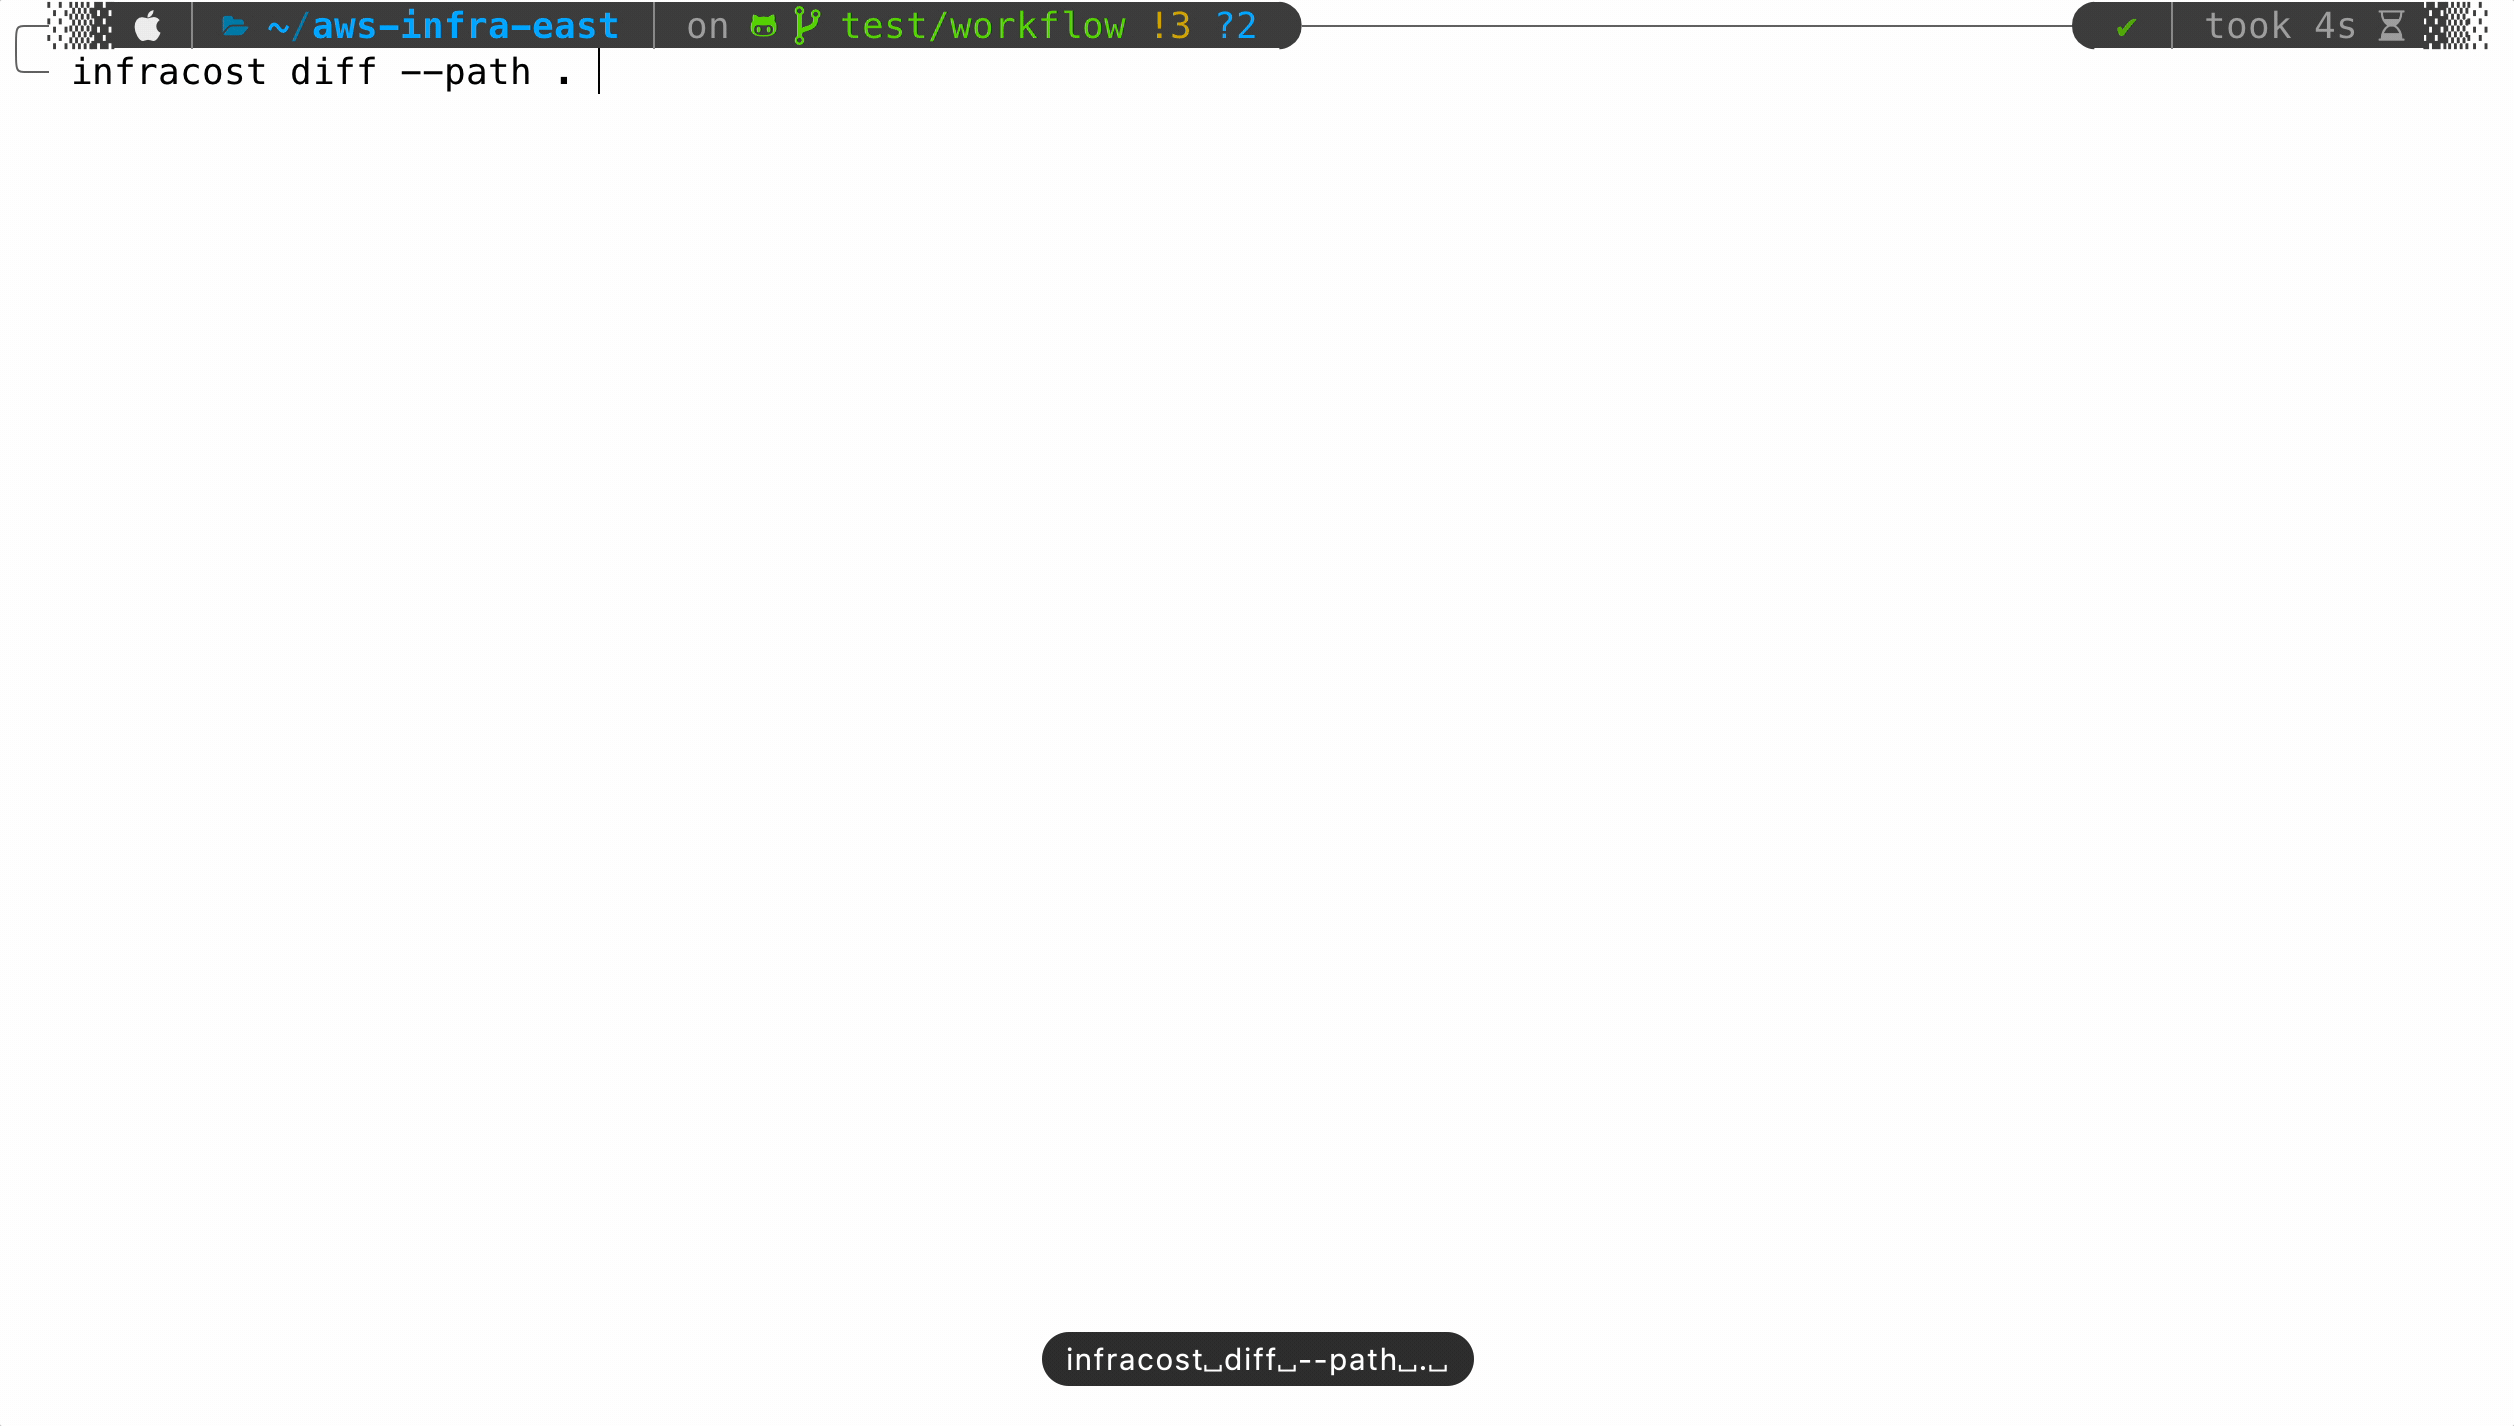
This time, we will tweak the command to generate a diff:

Run Diff
Run Diff

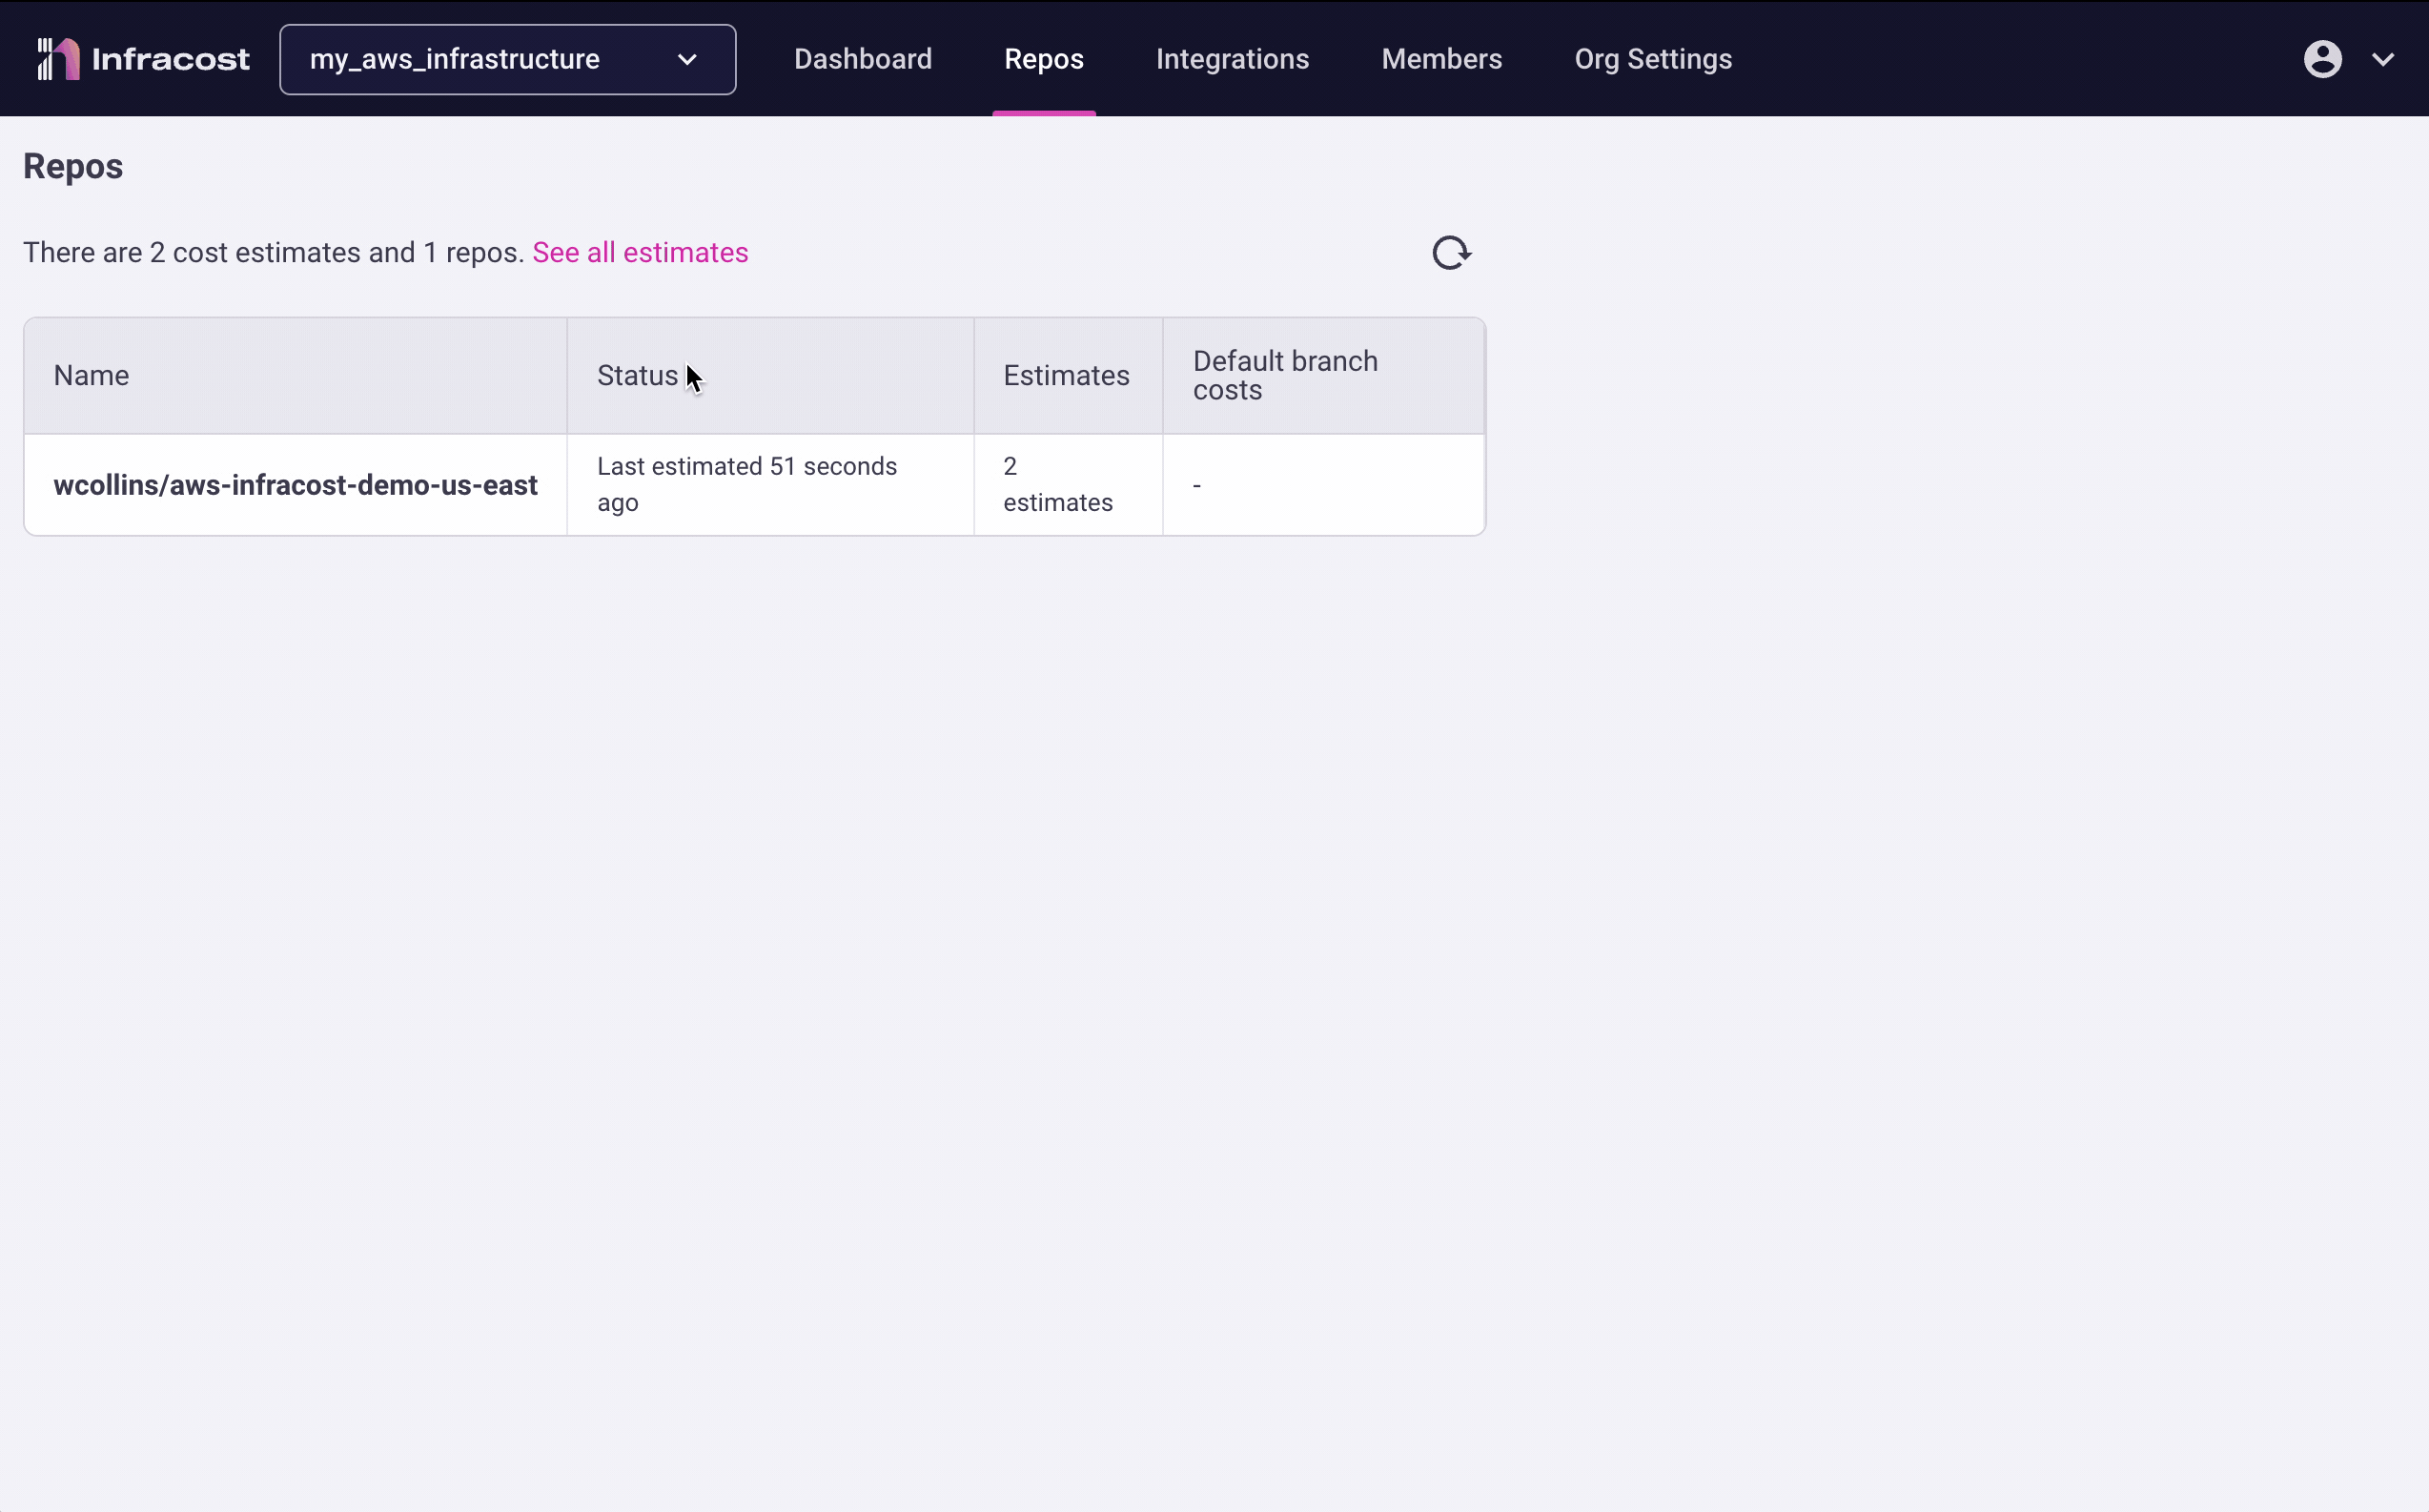
Once we navigate back to the portal, we can see the cost change. I have gone from a monthly cost of $9.27 up to a panic-inducing $13,449. Maybe I don’t need the m5.24xlarge instances for this testing!

Validate Diff
Validate Diff

Testing with GitHub Actions
#

In the spirit of shifting-left, let’s have a go with GitHub Actions running against every pull request. A lot of spending happens outside production, so this is an excellent way to control spending right at the source. If something doesn’t get deployed, it can’t cost you anything.

GitHub Actions Workflow
#

By default, it will execute the typical Terraform init and plan. Then it will run terraform show -json plan.tfplan and save the output to plan.json. Then, Infracost can run its calculations. This will be populated in the conversation log along with everything else being tested as part of the pipeline.

 1
 2
 3
 4
 5
 6
 7
 8
 9
10
11
12
13
14
15
16
17
18
19
20
21
22
23
24
25
26
27
28
29
30
31
32
33
34
35
36
37
38
39
40
41
42
43
44
45
46
47
48
49
50
51
52
53
54
---
on:

  pull_request:
    paths:
    - '**.tf'
    - '**.tfvars'
    - '**.tfvars.json'
jobs:
  infracost:
    runs-on: ubuntu-latest
    name: Show Infracost diff
    steps:
    - name: Check out repository
      uses: actions/checkout@v2

    - name: Configure AWS Credentials
      uses: aws-actions/configure-aws-credentials@v1
      with:
        aws-access-key-id: ${{ secrets.AWS_ACCESS_KEY }}
        aws-secret-access-key: ${{ secrets.AWS_SECRET_KEY }}
        aws-region: us-east-2

    - name: "Install terraform"
      uses: hashicorp/setup-terraform@v1

    - name: "Terraform init"
      id: init
      run: terraform init
      working-directory: .

    - name: "Terraform plan"
      id: plan
      run: terraform plan -out plan.tfplan
      working-directory: .

    - name: "Terraform show"
      id: show
      run: terraform show -json plan.tfplan
      working-directory: .

    - name: "Save Plan JSON"
      run: echo '${{ steps.show.outputs.stdout }}' > plan.json

    - name: Run infracost diff
      uses: infracost/infracost-gh-action@master
      env:
        INFRACOST_API_KEY: ${{ secrets.INFRACOST_API_KEY }}
        GITHUB_TOKEN: ${{ secrets.GITHUB_TOKEN }}
      with:
        entrypoint: /scripts/ci/diff.sh
        path: .
        usage_file: infracost-usage.yml
...

Creating a Pull Request
#

Once we create any pull request, the workflow will run and populate the cost details. At this point in the workflow, multiple approvals can be added. Three sets of eyes are better than one when spending so much with the click of a button! You can find the supported CICD platforms in the Infracost documentation.

Infracost CICD
CICD

Conclusion
#

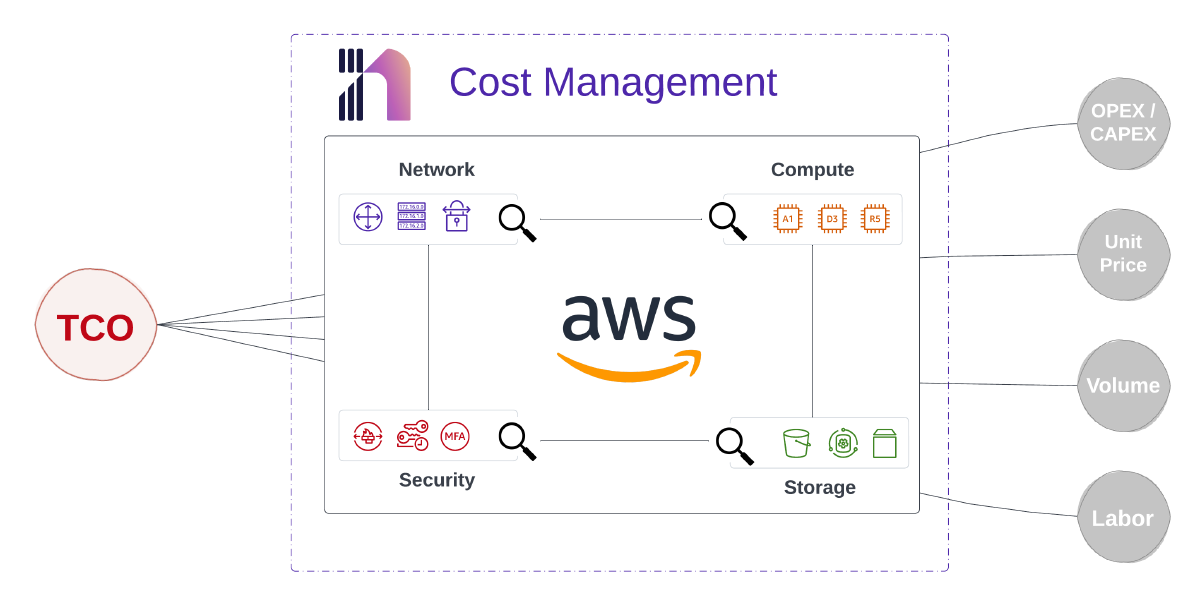
Understanding TCO in the cloud is a deep topic that spans a whole organization. It can be easy to keep provisioning EC2 instances when you are disconnected from the cost. The ability to see the cost in the pipeline is a fantastic way to practice due diligence on the technical side of responsibility.

Arming engineers with the right tooling and knowledge will help drive cost-conscientious decisions. Small steps like this, along with driving continuous governance strategically, are significant steps in getting control of cloud spend.

Related

The Best Terraform Feature Yet?

Optional attributes for object type constraints is almost here! I’ve been waiting for this feature to come along for a while. I have tested it extensively in -alpha, and I can confidently confirm that it is a game changer. This feature is long in the making, being discussed as far back as this thread in 2018. Today, it is now in beta, so the official release could be any day now. Let’s demonstrate how this is useful and build some common AWS infrastructure.

Intro To Terraform Modules With AWS

Effectively automating infrastructure is no longer a luxury but a staple in the enterprise move through future transformation. I wrote a blog recently about using Terraform with Packer together, and wanted to take this thought further with breaking down Terraform Modules and getting well connected with Terraform Cloud. I recently put together a simple module for building base infrastructure in AWS for the purpose of testing Alkira Network Cloud. Let’s dive in!

Terraforming Alkira and Fortinet is Multicloud Bliss

There is a reason why enterprises prefer the best-of-breed approach to connect and secure their network and intellectual property. Alkira announced its integration with Fortinet at AWS re:Inforce in July, and this is a perfect example of the best in action. As anyone that reads my blog knows, I have an automation first approach to everything. Alkira’s Terraform Provider is Fortinet ready, so let’s take it for a spin!